
Portacount FitPro Ultra Interface Details
This page provides detailed instructions for retrieving audiometric test results from Portacount software. It outlines the technical setup, required plugins, collected data fields, and step-by-step workflow for importing results in batch mode. The process involves exporting data from Portacount, uploading it into the Enterprise Health system, validating patient matches, and managing which tests to save.
Purpose: To guide users through the process of importing audiometric test results from Portacount audiometers into Enterprise Health, ensuring accurate data transfer, patient validation, and proper system configuration.
High-Level Workflow
- Export audiometric test results from Portacount software to a local or network drive as a CSV file.
- Navigate to the Device Import screen in Enterprise Health.
- Upload the exported CSV file.
- Select the appropriate location in Enterprise Health (to assign to a specific provider if needed).
- Validate patient matches (system will prompt to fix missing MRN if a match is not found).
- Review and manage which tests to save (remove or clear as needed).
- Complete the import and confirm successful upload.
Technical Details
Connectivity: No direct real-time connection. Data is transferred via manual CSV export/import.
Frequency:
- Inbound: Batch import only; no real-time import. Users can import individually or as a batch at a specified time (hourly, daily, weekly, etc.).
- Outbound: Enterprise Health can export audiogram appointments and test data to the Portacount device for a given date range or by individual patient.
Historical data can be imported via Data Import → Audiometric Data CSV API.
Software Requirements
Backwards Compatibility: Per TSI/PortaCount the FitPro Ultra Software released with the PortaCount model 8040 and 8048 has backwards compatibility available for the models 8030 and 8038.
Plugins:
- No plugin required.
Collected Fields
The following fields are collected from the Portacount device:
- Serial number
- User who performed the test (technician, not provider)
- Test results (frequencies, thresholds, etc.)
- Location (selected during upload in EH)
Install Instructions
Pre-Requisites
- Enterprise Health RC202309+.
- Access to Enterprise Health Device Import screen.
- Access to Portacount software with permissions to import/download files.
Configuration
- Select the correct partition in Enterprise Health during upload to assign tests to the appropriate chart.
- Error messages will display onscreen if issues occur during upload.
Batch Mode
- Data import is performed through the Device Import screen using CSV files exported from the Portacount software.
- Cronjobs or automated batch uploads are not supported; import must be initiated manually.
- Real-time import is not available; export from Portacount and import to Enterprise Health is required.
Batch Mode Instructions
-
Before users can import FitPro Ultra test results into Enterprise Health, they must first create an export file from the FitPro Ultra software. Once the file has been exported from the FitPro Ultra software and saved to the user’s local computer, navigate to the Enterprise Health environment.
-
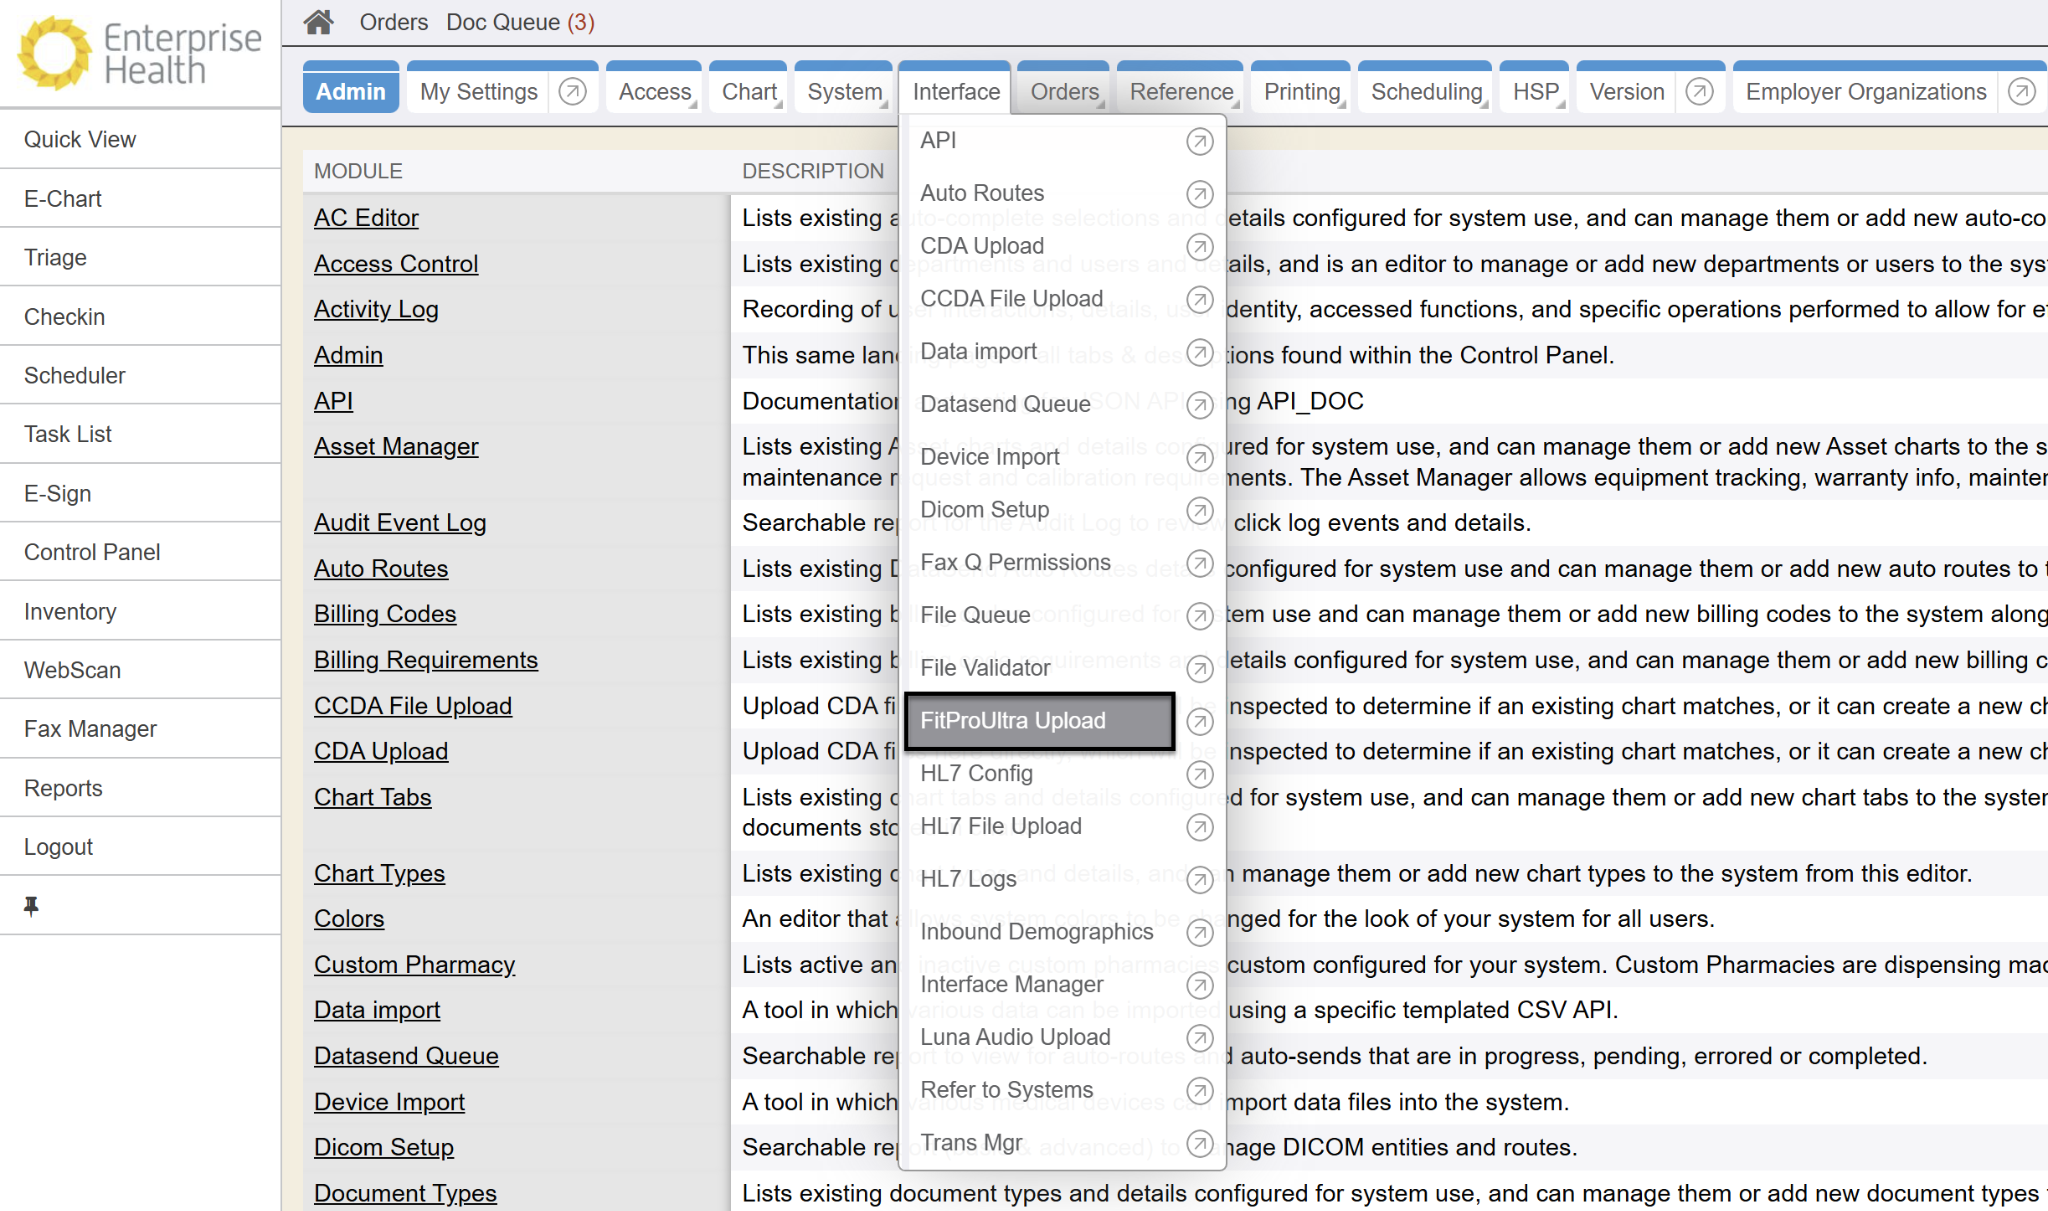
The FitPro Ultra Upload import tool is not currently available in the Device Import tab (Control Panel->Device Import Tool). The FitPro Ultra Upload tool must be manually installed by the deployment team member.
-
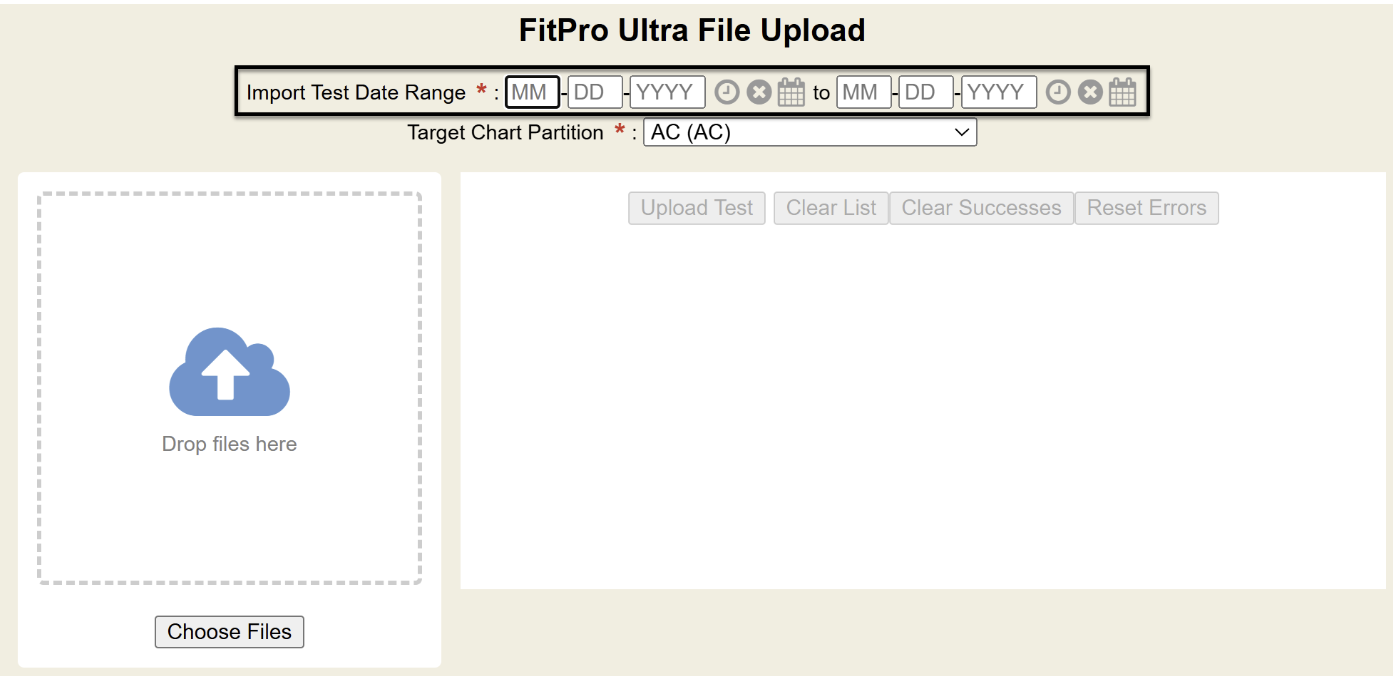
Before selecting the file to import, enter the Import Test Date Range. The date range field is required and important, as the FitPro Ultra File export contains ALL fit tests ever performed on the FitPro device. Entering the Import Test Date Range, will limit the import to the dates specified in the Import Test Date Range field.
-
Select the Target Chart Partition to ensure the correct patient chart is selected. If no partition were to be selected, there is a chance two patient charts may have the same number (but are in different partitions) and the file would error out.
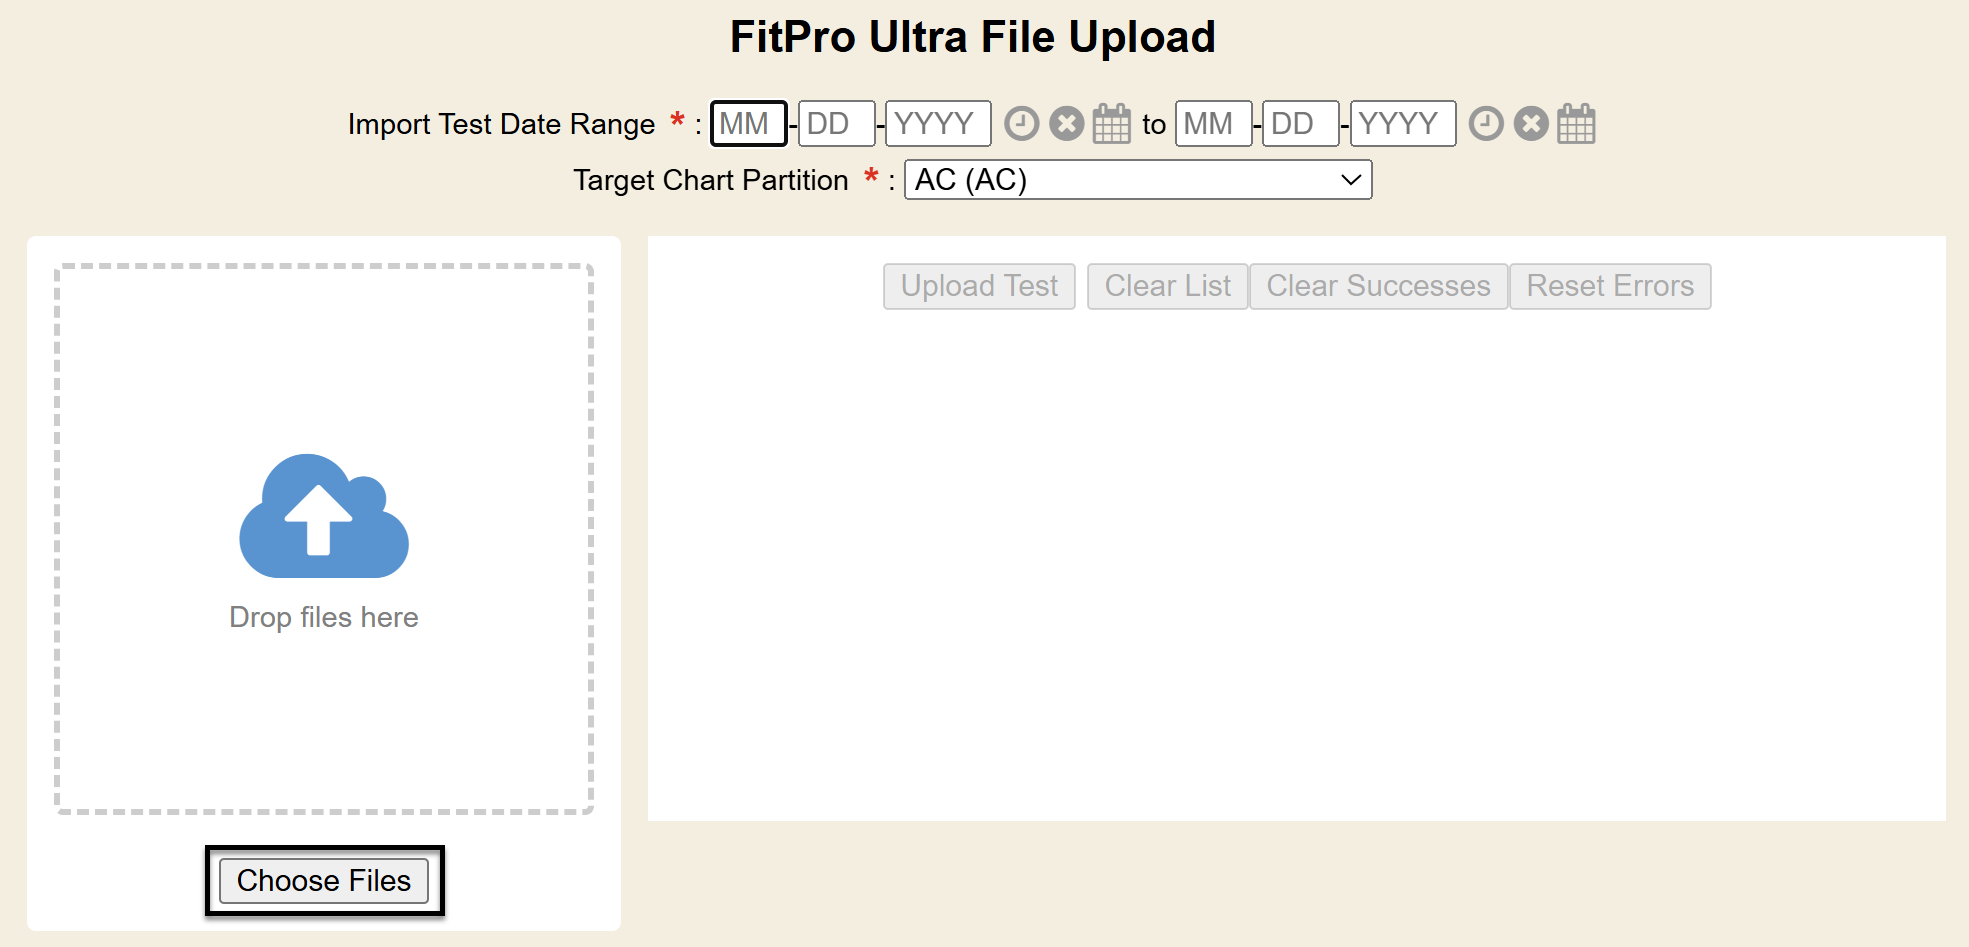
- Once the Import Test Date Range and Target Chart Partition has been entered, either select the Choose Files button to browse to your local drive to select the file to be imported, or drop and drag the file into the file upload box.
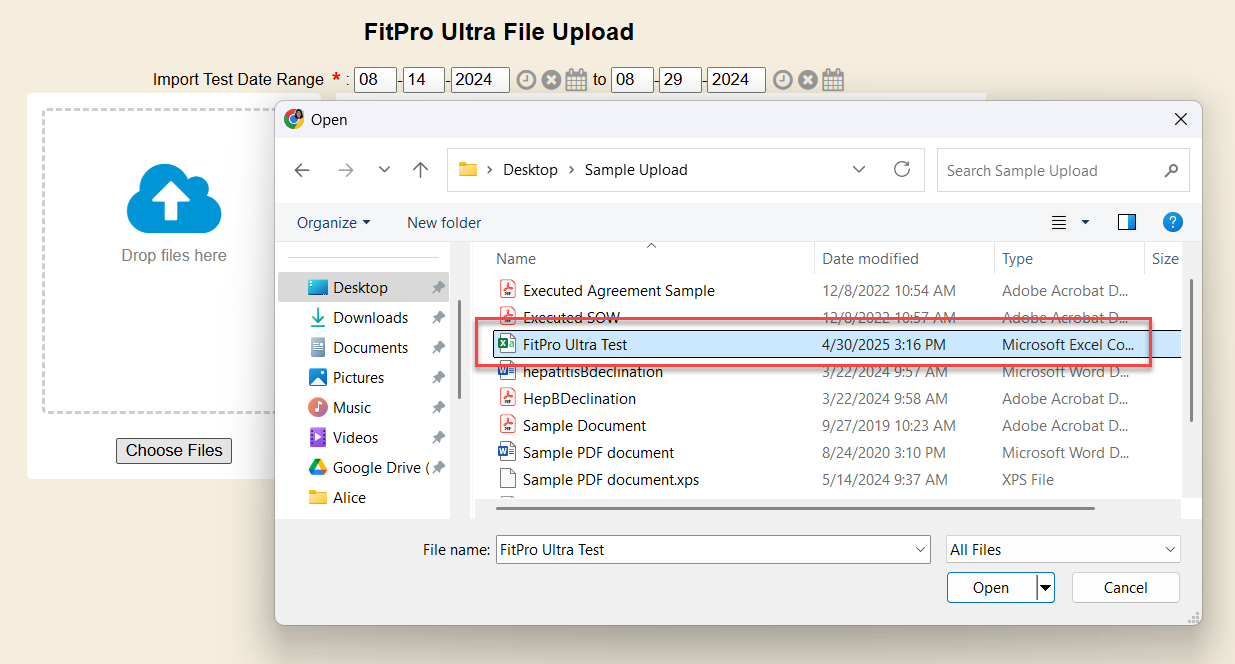
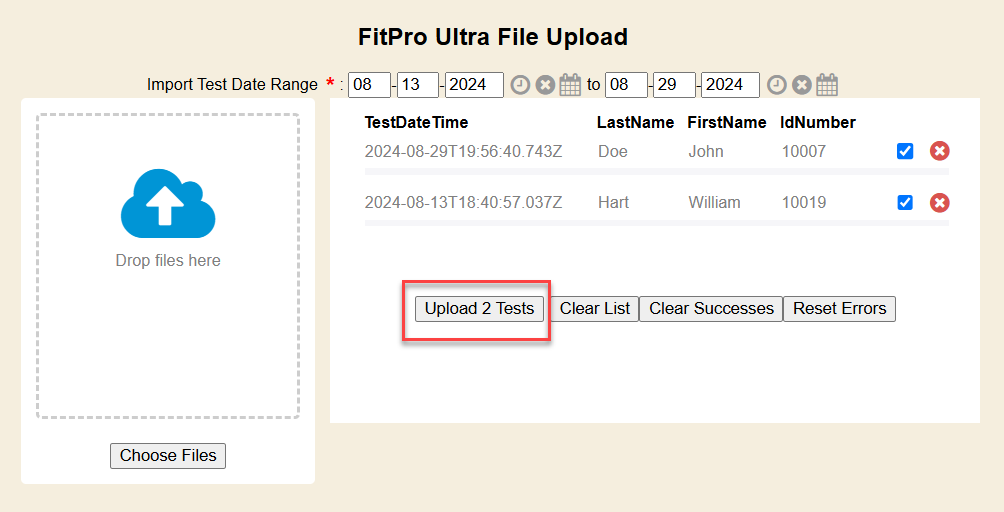
- Once the file has been selected, the tests to be imported will display on the right side of the upload tool. If any tests need to be removed from the import, users may select the red and white X button to remove a test or click the Clear List button to remove all tests and start over. When all files to be uploaded display on the right side of the tool, select the Upload Tests button to import the documents.
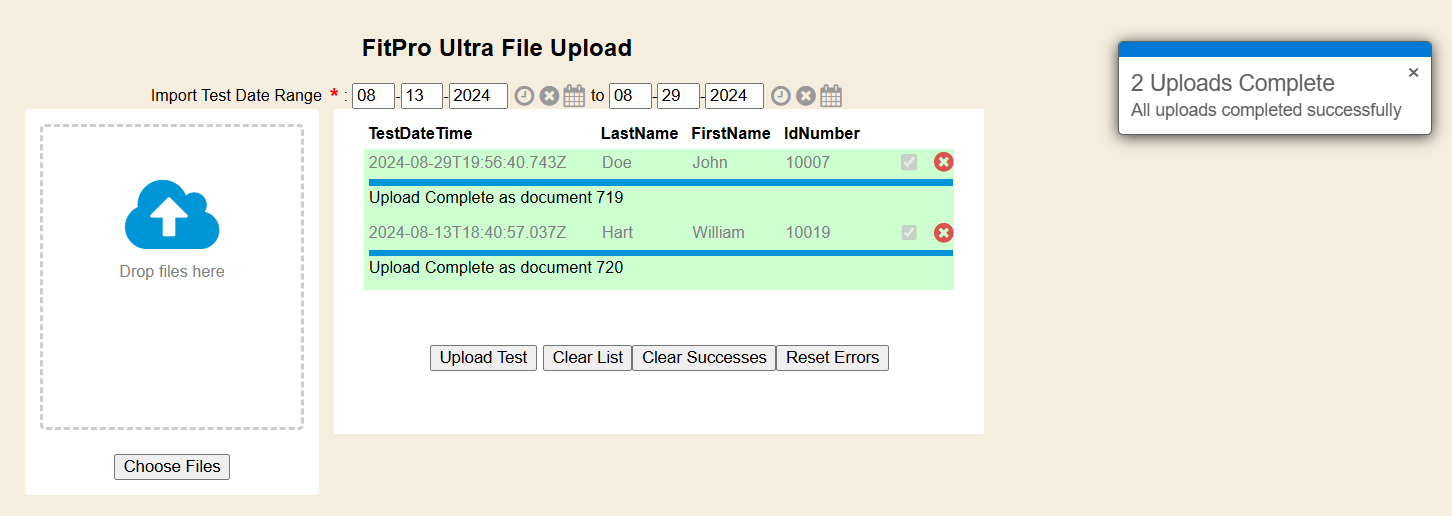
- Users will see a confirmation message in the upper right hand corner of the application confirming the file uploaded successfully. Each test that is uploaded will display in green and display a message that the upload was complete and display the document ID of the document that was imported.
- Users will see the discrete summary of uploaded results in the Respirator Info chart tab, as well as a stand alone document in the Documents tab.
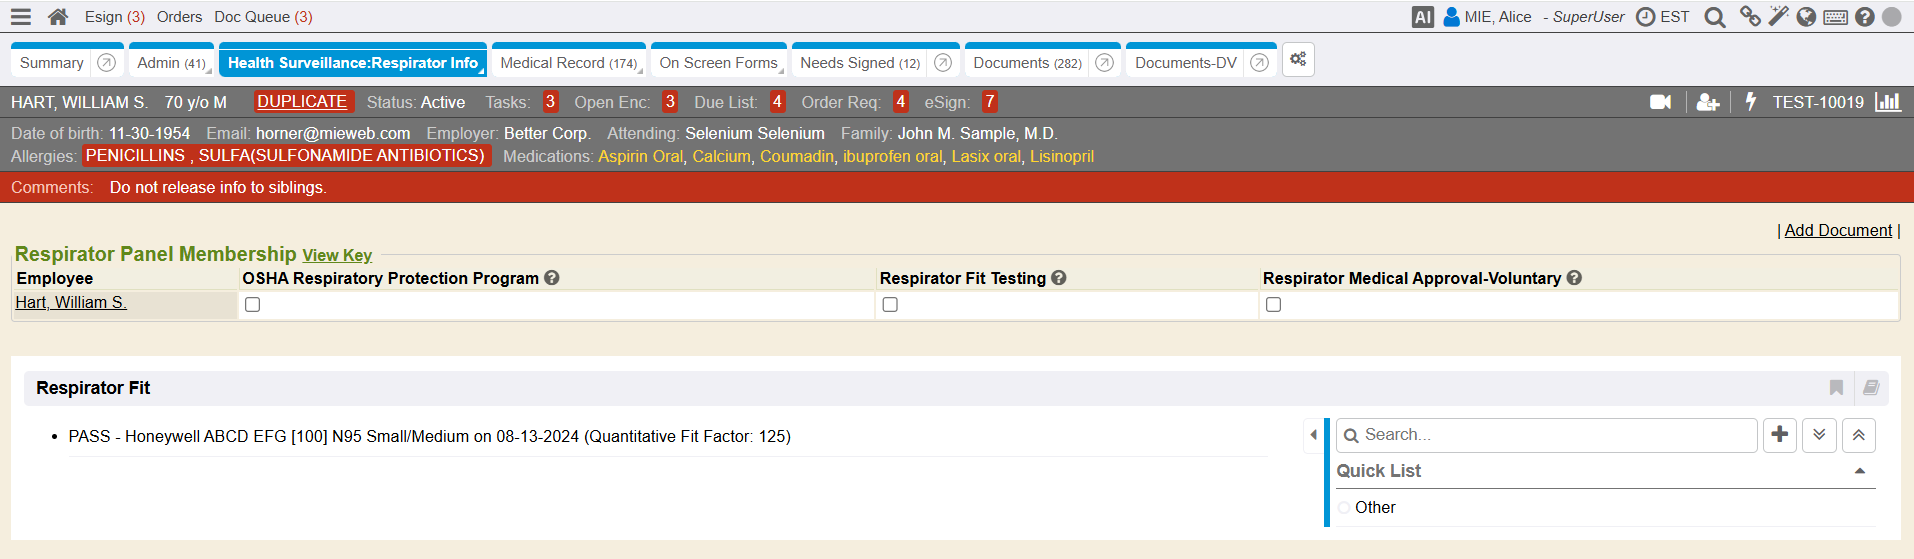
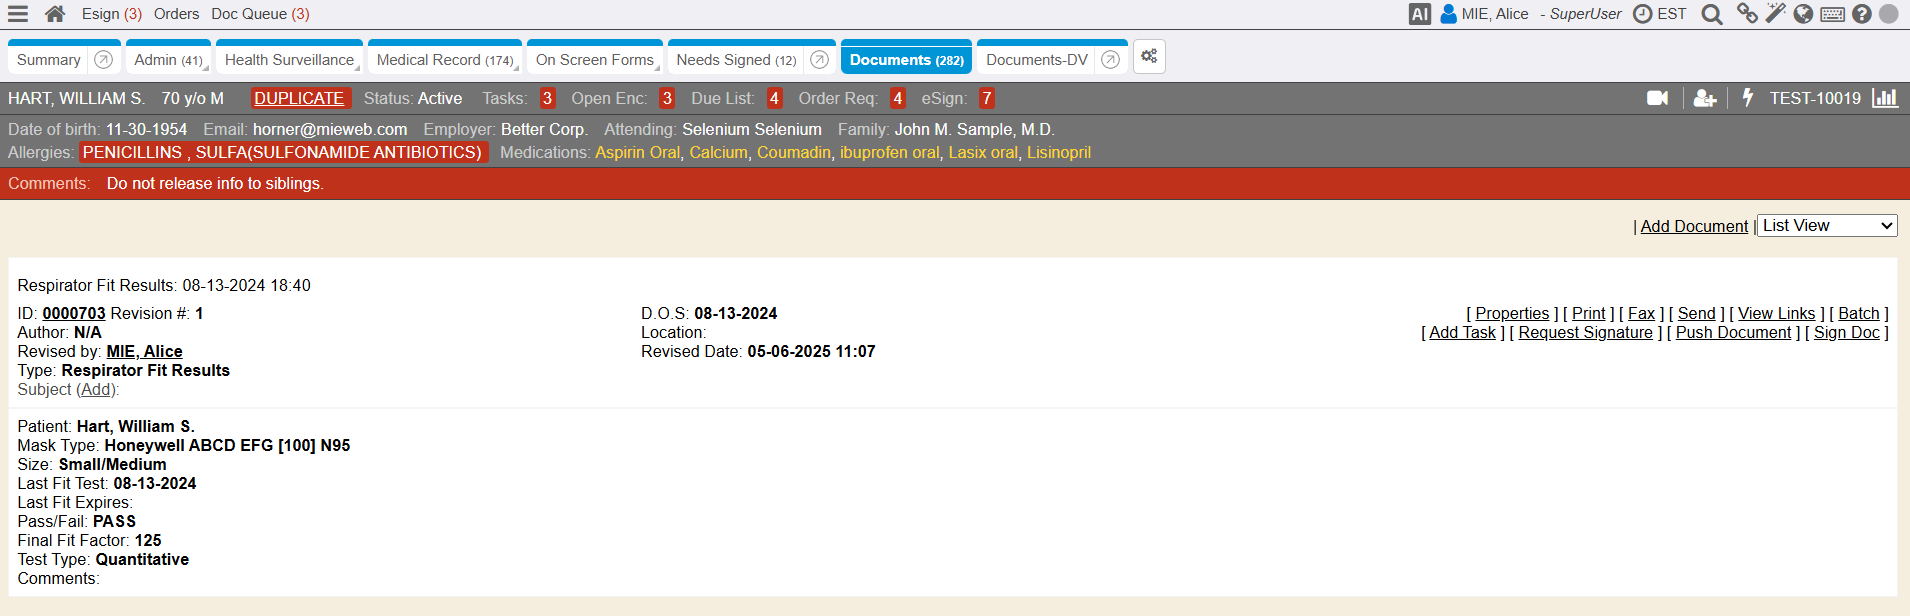
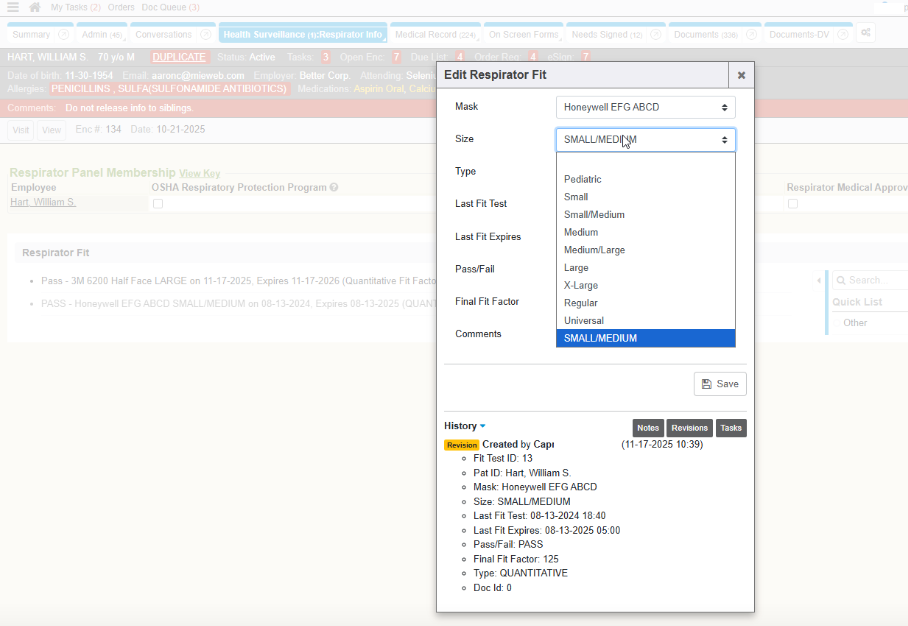
- The Portacount device import will now set the test type to “Quantitative” if a final fit factor is present in the import file. Also, when editing the respirator test record, the size and mask dropdowns will always include the current value from that test, even if that size mask is not a size or mask type that is not a standard size or mask type not typically included or configured in the drop down out of the box.
Configuration
- Translation Manager (Control Panel → Interface → Trans Mgr) mapping is required for some fields to be mapped correctly on the patient chart
- Add translation
- Interface: Device
- Category: Portacount
- Type: Default
- Trans From (see options below)
- Trans To: column header in the imported file
- Field Options for “Trans To”
- test_date
- due_date
- first_name
- last_name
- MR_number
- manufactur
- model
- mask_style
- mask_size
- overallff
- overallpas
- comment
- type
- Pass
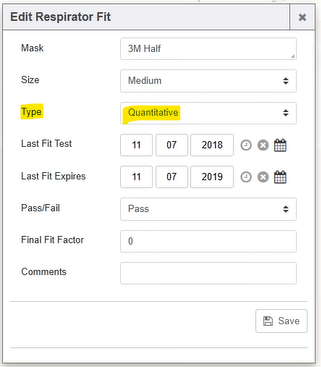
- Quantitative is defaulted in the “Type” field if imported via interface
Related Pages
- Artifact - Devices List